
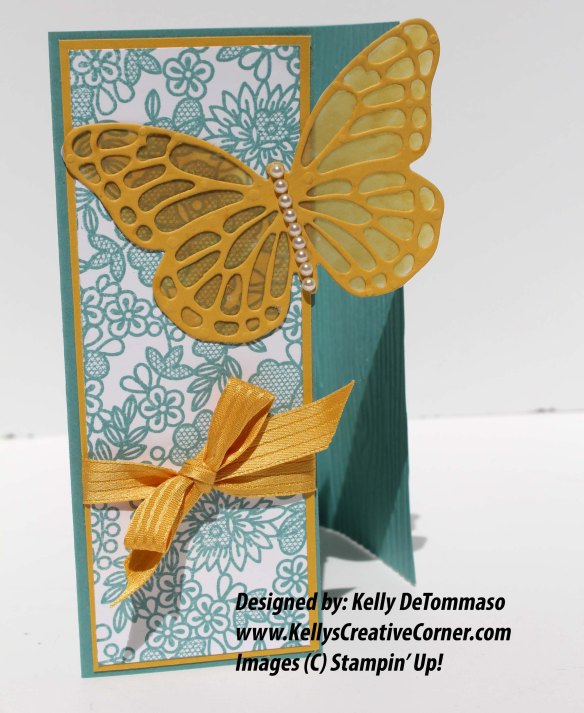
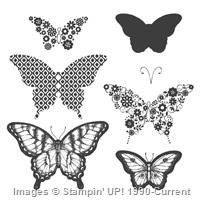
In anticipation of the Butterfly Thinlits return I made a gatefold card with a butterfly as one of the cards for my stamp club this month. I’m happy to say that the ladies loved this card and the fact that they could now order the Butterfly Thinlits and Butterfly Basics once again. Here’s my card.

And here’s another look to give you the full effect of the gatefold.

Tips, Tricks, and Insights:
- Making a Gatefold Card – It’s very easy to make a gatefold card; here are the dimensions:
- Cut an 8-1/2″ x 11″ piece of Stampin’ Up! card stock in half so that the size becomes 8-1/2″ x 5-1/2″
- Score the 8-1/2″ length at 2-1/8″ on each end
- Fold both sides toward the center; the completed closed size is 5-1/2″ x 4-1/4″
- Trim the layers for the left panel which are 1/8″ and 1/4″ shorter than the panel itself
- Hello Honey Layer: 5-3/8″ x 4-1/8″
- Whisper White Stamped Layer: 5-1/4″ x 4″
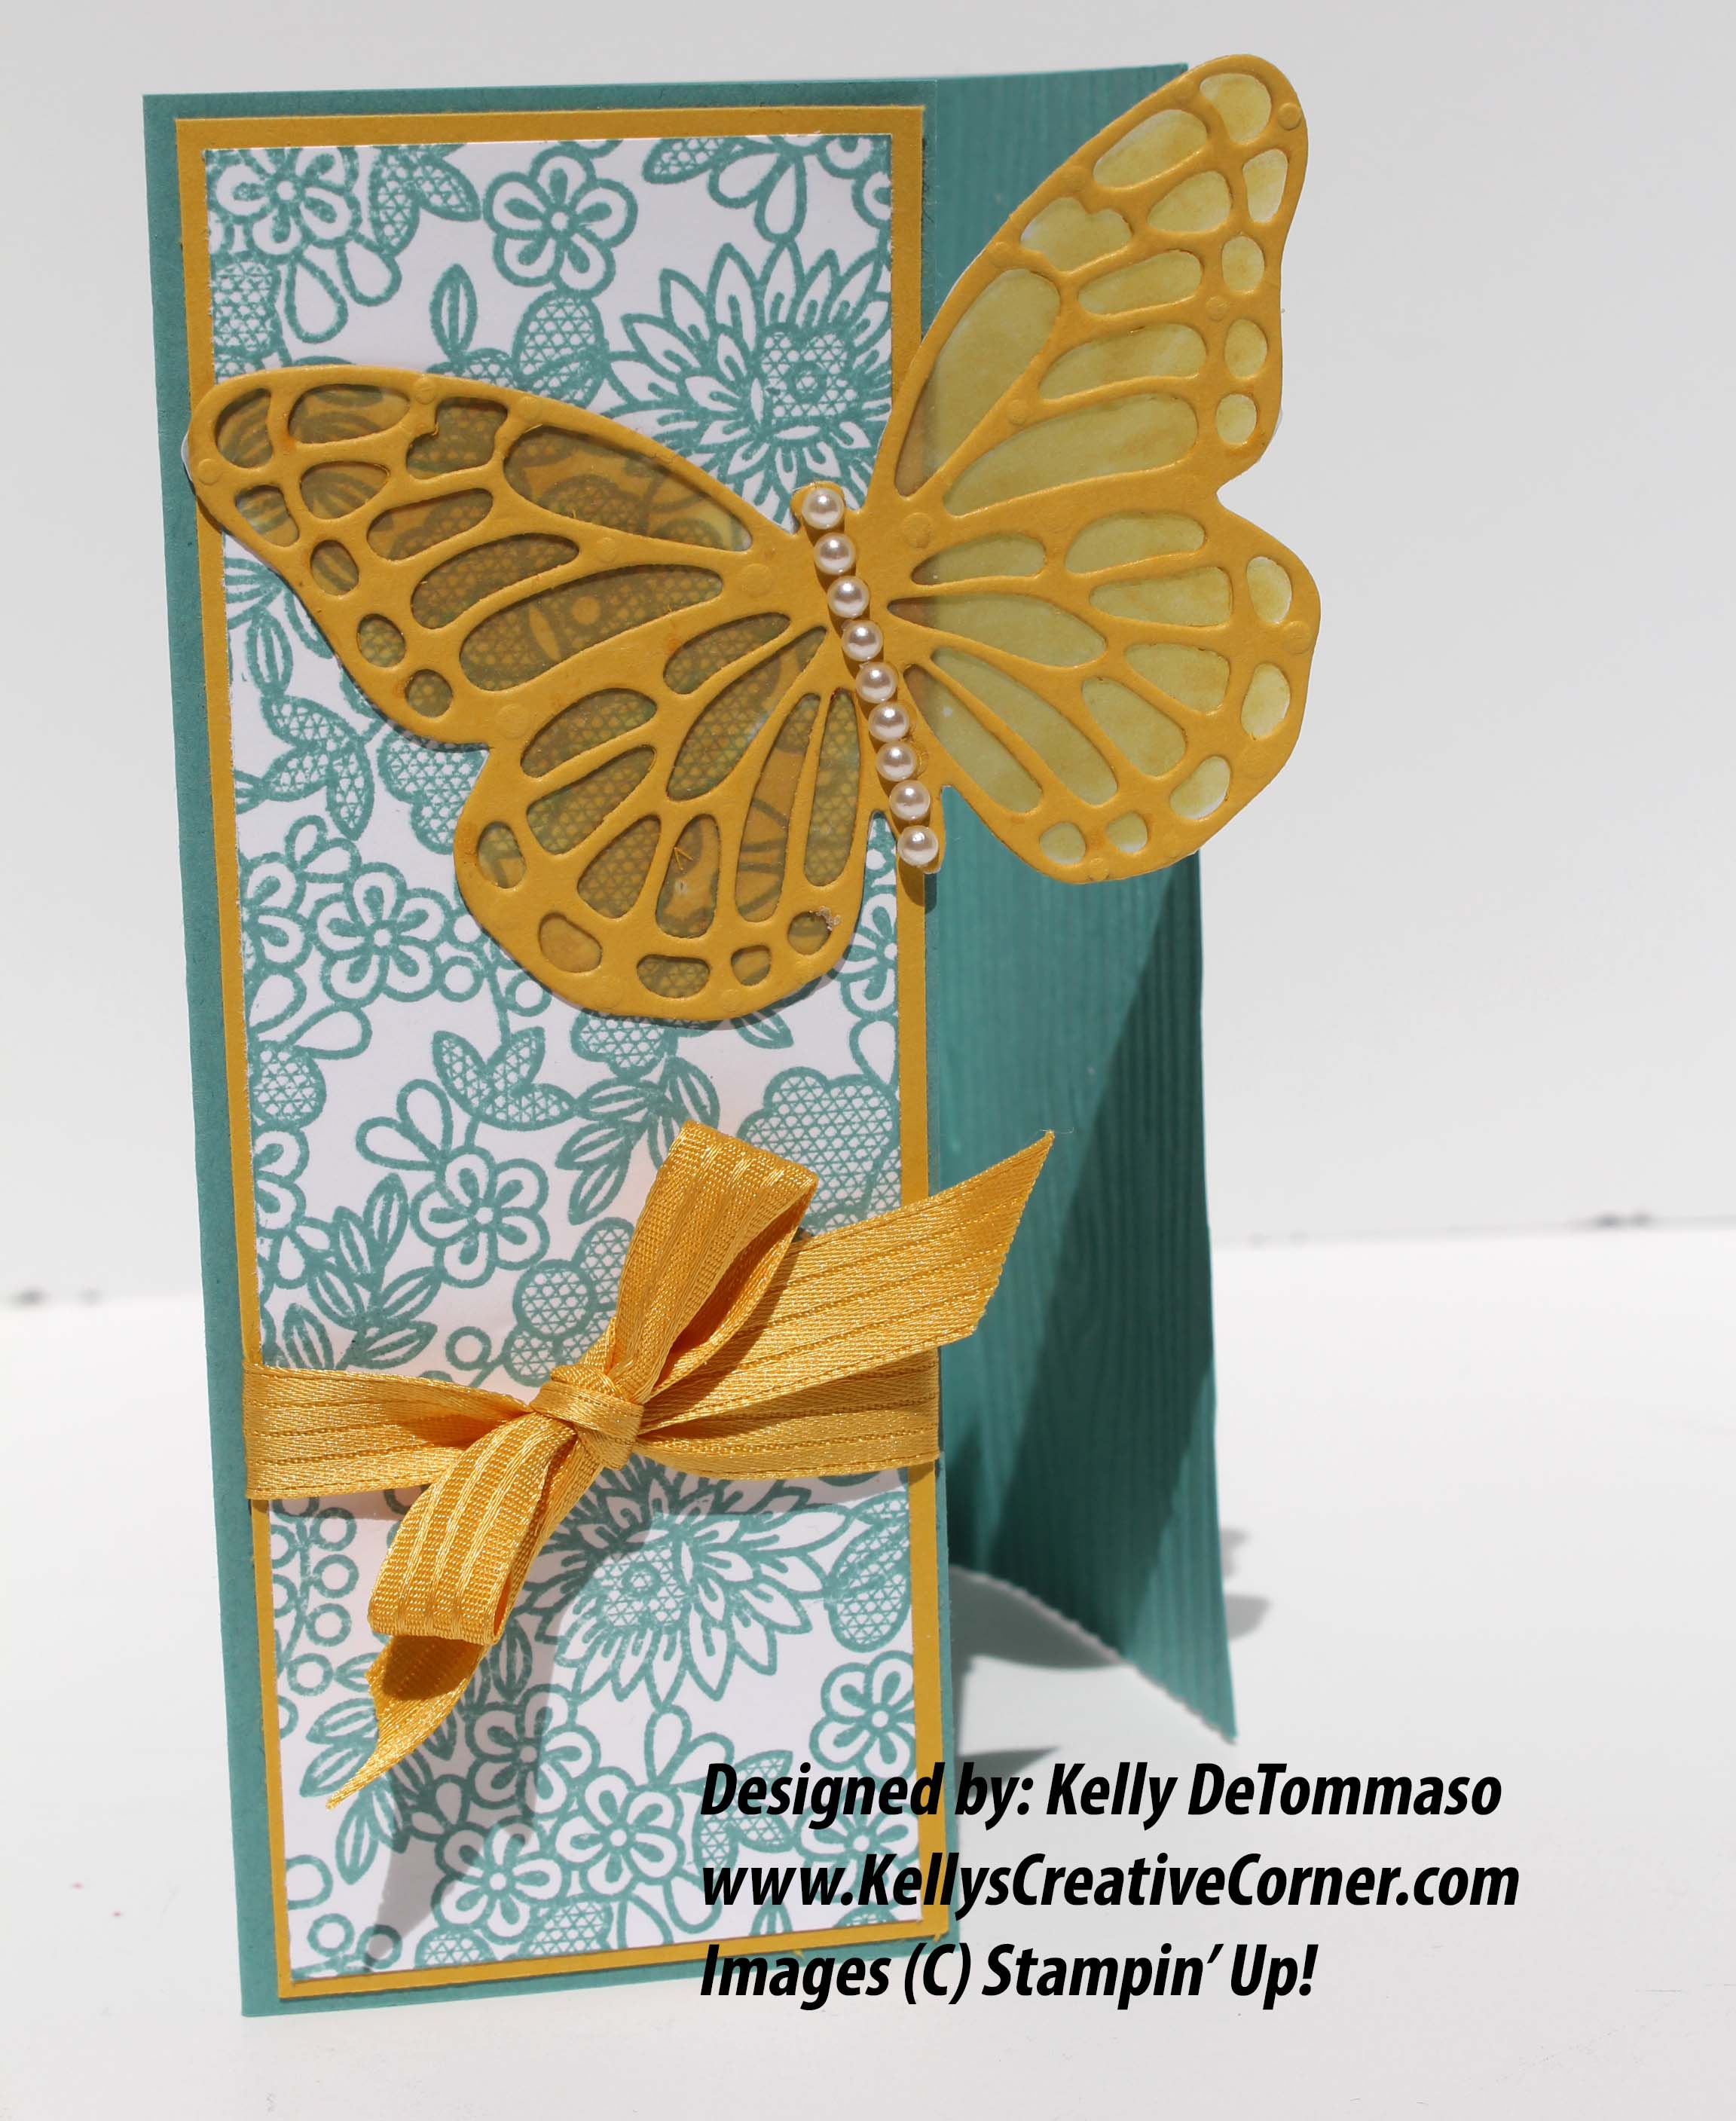
- Transparent Butterfly – Because the background on both of the gatefold panels are different the butterfly needed a backing. I decided to adhere White Vellum to the back of the Butterfly, hand snipping the vellum to size it perfectly with the cut out butterfly. I played around a little and on one card I colored the vellum with a Hello Honey marker. Can you see the difference between the two cards? The one on the left was colored and the one on the right was not. Which do you prefer?
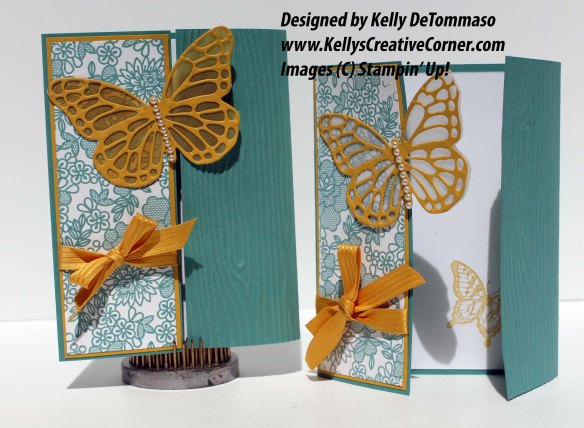
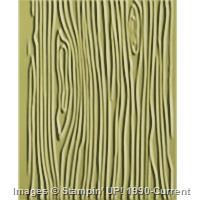
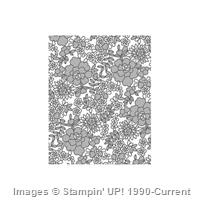
- Opposites Attract – I didn’t want both panels on the gatefold card to look the same. The panel on the left was stamped using the Something Lacy background stamped with Lost Lagoon ink on Whisper White card stock. The panel on the right was texturized (is that a word?) using my favorite embossing folder, Woodgrain.
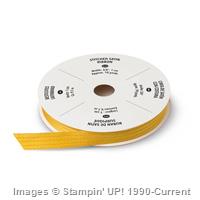
- Tie a Yellow Ribbon – Before adhering the Something Lacy and Hello Honey frame onto the left panel make sure you tie the Hello Honey 3/8″ Stitched Satin Ribbon onto the panel.

I hope you enjoyed my card today. It’s very easy to make. Why don’t you give it a try?

You have 4 more days to play along with us at the Retro Rubber Blog Challenge. Reach for some brads and a stamp set that’s at least 1 year old and play along with us for our current challenge.

Supplies: If you don’t already have your own demonstrator, you can order any of the supplies used to make this card through my online store, or clicking on any of the images below to add them to your shopping cart. You can also print a supply list by clicking on the supply list link beneath the images shown below.


Built for Free Using: My Stampin Blog
Thank you for stopping by my blog today!
Blessings, Kelly

I like the idea of a stamped panel and a textured panel. I will have to try this next time I create a gatefold card. Both cards are lovely, but, I prefer the die cut butterfly layered on the vellum that is colored. Thanks so much for sharing your creativity!
LikeLike
What a fun and pretty card!
LikeLike
Hello Kelly, I don’t know what happened but my computer was not loading your page, I don’t think it was anything on your end, I think it was me. Anyway, I was eager to tell you how much I LOVE your beautiful card, the lace panel paired with the textured panel look amazing and your butterfly with the velum just finishes this lovely gate fold card. I do like the one you colored.
Thank you for sharing.
LikeLike